
Lesson 4 - Malting Process
This lesson deals with the malting process. We investigate each stage of the malting process in detail. We describe the required physical and biochemical changes involved in the conversion of barley to malt. We also discuss the vessels used for malting and explain how they help to produce malt of optimum quality.
Quality Assessment During Germination
Some quality checks that can be carried out during germination include:
- Moisture content analysis
- Acrospire growth
- Visual analysis
Visual analysis involves rubbing grains between your thumb and forefinger. When the green malt (term used for the batch at the end of germination) is correctly modified, the starchy endosperm looks like chalk on your fingers. If there is still cell wall material present (i.e. the malt is under modified), it forms little balls when you rub it between your thumb and forefinger.
Typically, barley spends four to six days in the germination vessel. Over modification can reduce extract levels because the grains’ starch is lost to embryo growth. The friable nature of the endosperm in over modified grain can cause problems during milling. The grain can shatter leading to dust losses and finer grist than is required for the wort separation system. Under modified grain can cause problems in the brewhouse and filtration due to undegraded β-glucans. The grain continues modification during the first couple of hours of kilning.
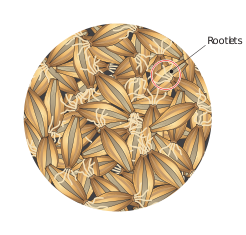
Figure: Green malt ready for transfer to the kiln